Monday, 16 June 2014

Explosion Box

Hey everyone!! Do you remember the first video about the first time I did an explosion box....well now I suddenly feel like doing a tutorial.

This is what it looks like closed :


And this is what it looks like when you lift the lid. This is the side view. As you can see, it has 3 layers of boxes and a 3 tier cake:


 And this is what it looks like from the top view:


The following will be a step by step (hopefully) tutorial for this awesome explosion box:
The papers that I have used are Rosie's Studio Designer Scrapbook Pad which comes in different designs. I chose a Garden Style specifically because it looks antique and my friend loves these types of designs. They measure 30.5 by 30.5 cm which is a good for this project. 

Step 1:

Get your 4 papers ready to measure and cut.

I used this for the box; which you can see from the photo at the top. I used 2 sheets of this paper for this project; one for the box and the lid:


This one I used for the second layer:


And the last one I have used a neutral colour to tone the bluey-green paper:


Step 2:

Measure your first box layer 27 by 27 cm and then divide it into 9 cm both sides. Cut the 4 corners. I kept the 4 corners and stuck them to the back as mine white at the back.


Step 3: 

Measure the second layer 24 by 24 cm and divide it into 3s of 8 cm.


Step 4:

For the third layer, measure 21 by 21 cm and divide into 3s of 7 cm


Step 5: 

Stick them onto each other till it becomes like this:


Sunday, 26 August 2012

My 2012 Design Concepts

This year, my folio's theme is about people donating happily to poor people.
Here are some of my logos and poster designs that I have done so far by using Adobe Photoshop:

These are my logo designs starting from the first is my concepts, the second is my development and the third is my final logo:


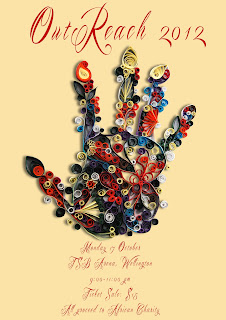
These here are some poster concepts that I have done:


These here are my magazine concepts:


These are some that I like doing in my free time or just to polish my skills:


My 2012 Animation


My 2011 Animation


Some of my 2010 art photos that I have done in school:

This is my final sketch of my Still-life (my first time):

 These are little sketches showing different textures like watercolour pencils and normal pencils:

My water-colour version:

 This is a smudging technique by using soft lead pencil:

This is a smooth/ neat hatching by using pencil:

This is an angry cross hatching:

I also had a go at drawing mythical creatures. It was fun: 


This here is my very first painting on perspective. It was hard at first but kinda got the hang of it after a while the sky just didn't work at all for me. I have used acrylic paints:

My dragon sketches:


This here is another of my perspective sketch and I have used charcoal chalks. I have named it 'Gloomy City':

 A 3D-Ear sketch. I was pretty impressed by the end result:

 Tonal sketch using black and white crayons:

A beautiful sketch of the tui bird:

 When my teacher saw this she said that this bucket shows life....Does it?

I'm a manga and anime fan just to let you know:

 My once in a life time perspective painting using complementary colours:

 Warming up exercises:


Dry painting technique:

A digital image of myself using the artist model called Julien Opie:

Making my own woodcut design step by step:


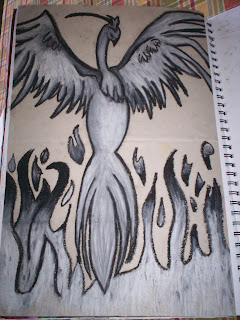
 Use of black and white crayon to draw a phoenix: 

 Shell sketching using charcoal and pencil:


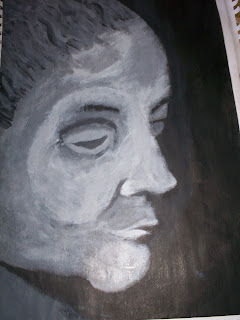
A painting of Vincent Van Gogh that I have done (took 4 days to complete):


 A sketch tattoo of the phoenix:

Looking for inspiration (was bored):

  Different angles of different birds: